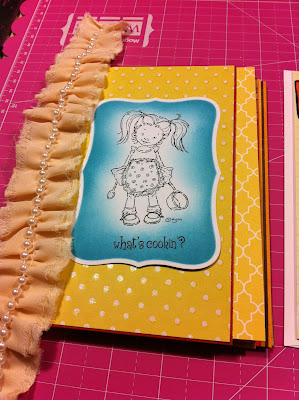
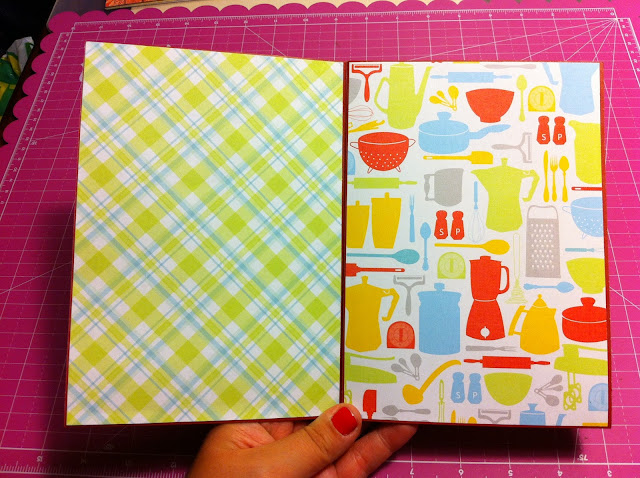
For this Envelope Mini Album I decided to go with the theme "Cooking / Recipes"
The 3 pictures below are my step by step of how I came up with my decorations for the Cover Page.
I used the stamp 'What's cookin?' from Stamping Bella. Thought this was very fitting for my Cooking theme :) I then distressed the edges with Tim Holtz Broken China.
Her finished product will be in phase 3, So go check her out! :)
I decided to add some Rippled Ribbon I got on crazy sale at Michael's to give some dimension and FUN to the cover :P
The Cover will look a little something like this :)
Don't mind the tags sticking out.. This was me in the process of adding half circle punches to be able to pull out the tags easier.
(Please "Read More" to check out the inside pages of the album!)
Below are pictures of the album page by page as I open them.
Page 1 (Front Cover)
This is the front and back cover. I decided to make them match. :)
Page 2 & 3
Page 3 close up
Page 4 & 5
Page 6 & 7
Page 8 & 9
Please note on page 9, I made a little pocket using some leftover pattern paper that I used on page 8. This way the pages tie in together well and I can use that pocket to slide in a recipe I don't want to hide in the tag pocket on the side :) Either because it is thicker with embellishments or what not. Not sure what I will be putting there yet :)
Page 10 & 11
Page 10 close up
* ** *** **** *** ** *
I added Tags for each Pocket... I decided to coordinate each tag's cardstock with it's pocket! Check it out!!
* ** *** **** *** ** *
Page 2
Page 3
Page 4
Note I added the tag 'date' to the center of the page. I will be gluing this down over top of a large knife and folk that will be crossing each other. This way the design will tie into the "Recipe/food" theme and adds a fun element to the page. I might even add some Clear Embossing to them. We shall see :)
Page 5
Page 6
Note I added 2 colourful boarders to the top and bottom of the page. This I will glue down directly on the page, not on dimensions. Thought the nice bright shimmery colours brightened up the page a little :)
Page 7
For the image on the page, I stamped 'Grace' from Kraftin' Kimmie Stamps.
I then distressed the edges with Tim Holtz distress ink Vintage Linen.
Next step is to colour her in! Check out Phase 3 for that ;)
Page 8
Page 9
Page 10
Page 11
I added the journaling tag 'noteworthy'.. I will glue only the edge closest to the inside of the page in order to use it as a area to slide a 'Recipe under'.
Page 12 (Back Cover)
Go check out Phase 3 for the
FINAL PRODUCT!!


No comments:
Post a Comment