The following is a step by step on how I created this fun Sizzix Accordion Album
I used my cuttlebug but you can always use a BigShot, Bigkick and so on.
This is a picture of the die cut I used to create the album.
I actually put 3 layers of cardstock and passed them threw the cuttlebug
together to save some time.. worked great and cut them all very well.
I then used this die cut that coordinates with the album die.
This tool is perfect for decorating the frame of your album.
Once I got all my items cut out, I placed them on my craft mat to see what order I wanted to place the decorated frames in. I cut out 4 of the pattern paper frames. (3 for the inside & 1 for the front of the card) Glue, Bone folder and scissors are tools I used to assemble the album.
I started off by gluing down the outer frames then the inner frames.
These flaps are what bind the accordion album together.
I recommend pre-scoring them to make it easier once you glue them together.
With the 1st flap I scored it towards myself.
With the 2nd flap I scored it away from me.
With the 3rd flap, you cut it off since this is the end of the accordion album you won't be attaching it to another piece so there is no need for it. Also make sure to cut off the two small tabs connected to the inside frame.
Now my pieces are ready to be glued together.
A little tip when gluing the pieces together, make sure to keep a small space between the two accordion pieces, this way it keeps your album more flexible to close flatter and the solid background cardstock color poking threw looks nice.
Same applies here.
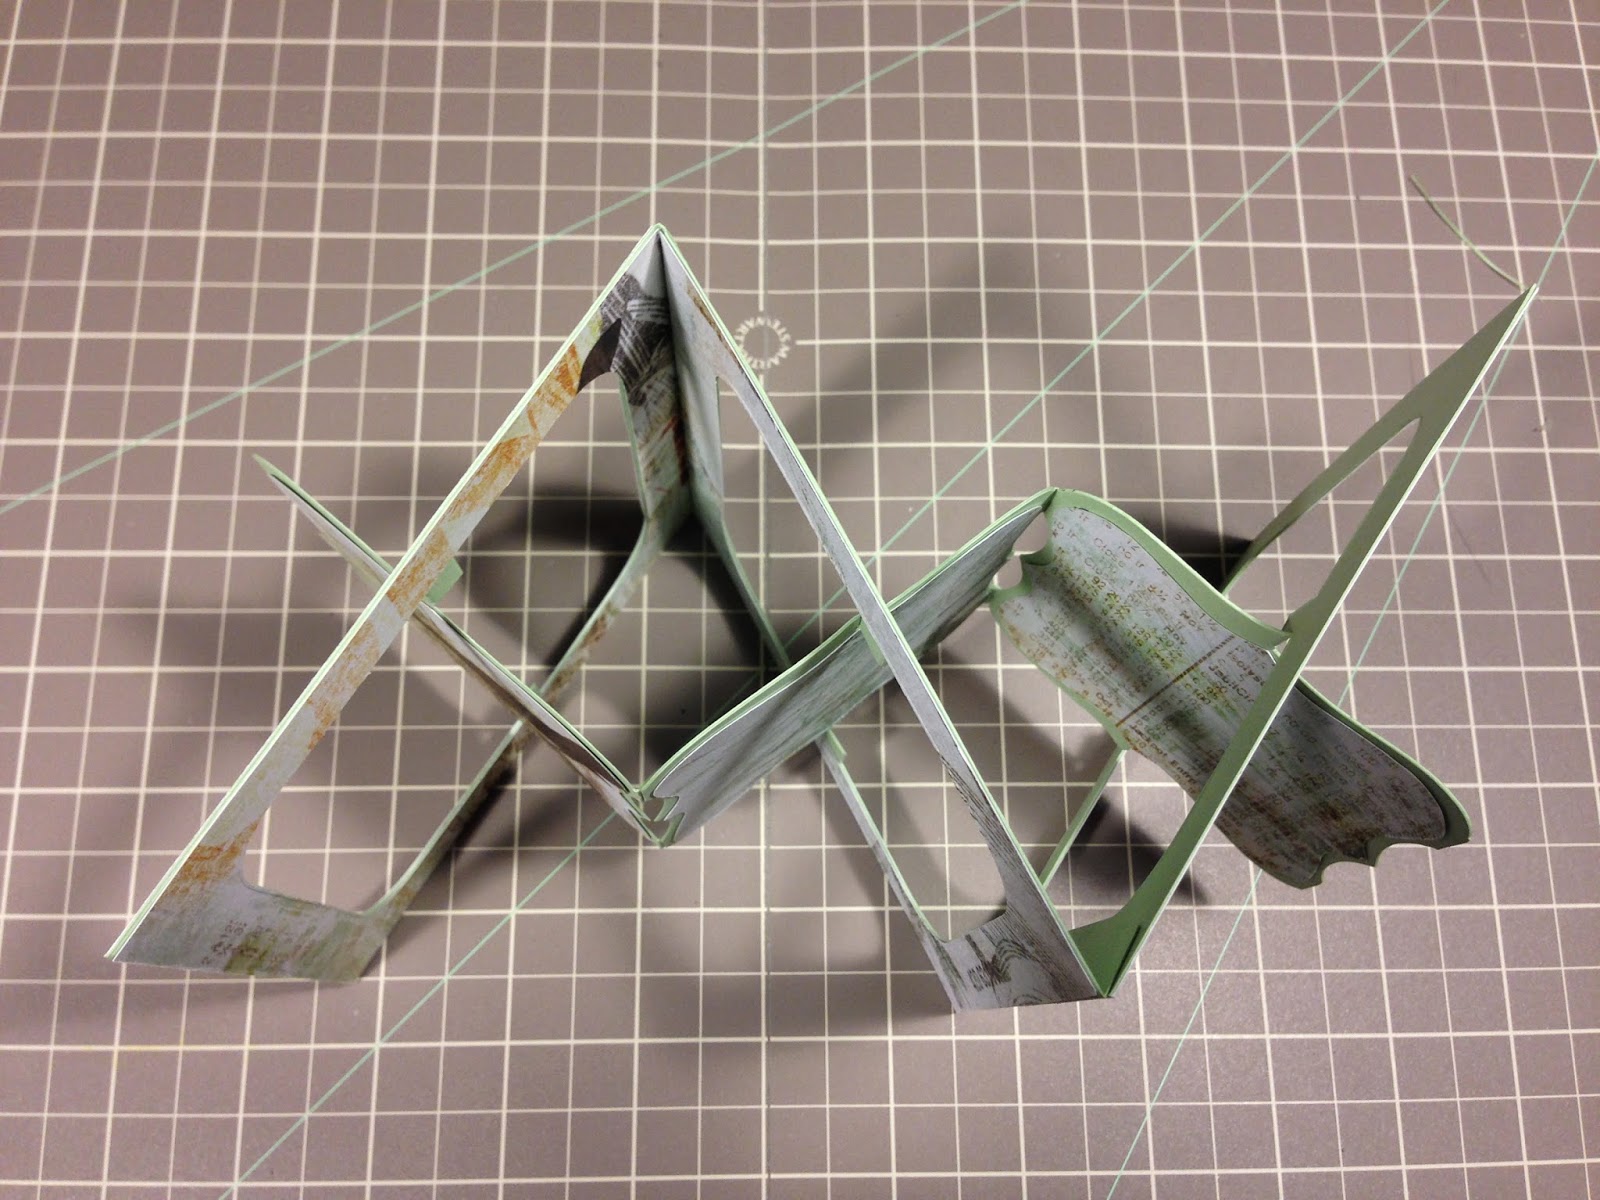
This is what your accordion will look like once it is attached together. You can also keep adding accordion pieces to the album if you want a bigger album/project.
A good example would be.. if your making a card for let's say fathers day and you have 3 kids, you can add each of their pictures on a accordion piece and a 4th with your picture and a 5th with a message from everyone. Once it would be standing for display it would look very nice and fun!
The next step is to glue the two small flaps that are attached to the center of the album and connect them to the following center piece like follows.
This is what your album will look like once they are all glued together!
The album stands really well on it's own.
This is the view from the front of the card once it is closed.


No comments:
Post a Comment