I'm a crafty girl who loves to do all kinds of crafts during my spare time. I'm always looking for new challenges and I love to share all my fun interactive creations with others. I make easy to follow picture tutorial to teach others to create their own.
Total Pageviews
Thursday, September 19, 2013
Sunday, September 08, 2013
Envelope Mini Album : Phase 2 of 3
For this Envelope Mini Album I decided to go with the theme "Cooking / Recipes"
The 3 pictures below are my step by step of how I came up with my decorations for the Cover Page.
I used the stamp 'What's cookin?' from Stamping Bella. Thought this was very fitting for my Cooking theme :) I then distressed the edges with Tim Holtz Broken China.
Her finished product will be in phase 3, So go check her out! :)
I decided to add some Rippled Ribbon I got on crazy sale at Michael's to give some dimension and FUN to the cover :P
The Cover will look a little something like this :)
Don't mind the tags sticking out.. This was me in the process of adding half circle punches to be able to pull out the tags easier.
(Please "Read More" to check out the inside pages of the album!)
Envelope Mini Album : Phase 1 of 3
Envelope Mini Album
I was inspired by this You Tube Video, so I decided to create my own!
Here is my picture Tutorial. If your having trouble following along, please go check out
the youtube link above, she did a really good job at explaining it!
This is Phase 1 of 3.
Phase 1 : How to glue the envelopes together
Phase 2 : How to decorate the envelopes & create the tags (basic)
Phase 3 : Final Product!! Album & Tags. (embellished)
To check out my full Picture Tutorial, "Read More"!!
Gate Fold Card: Back to School
Gate Fold Card Back To School
Made the books with Cricut Create
Made the Circles using Spellbinders Nestabilities in the Cuttlebug
On the inside I will put the saying "Back To School!!" on white cardstock (circle shaped a little smaller then the one below) raised up on dimensions. I will also distress the edges of the white circle to make it pop out more with Black Sut distress ink from Tim Holtz.
Gate Fold Card: Snowflake
Gate Fold Card: Winter - Snowflake
Snowflakes made using Cricut Create
Frames made using Spellbinders in the Cuttlebug.
For a COMPLETE step by step "Read More"!!!
Gate Fold Card: Christmas Owl
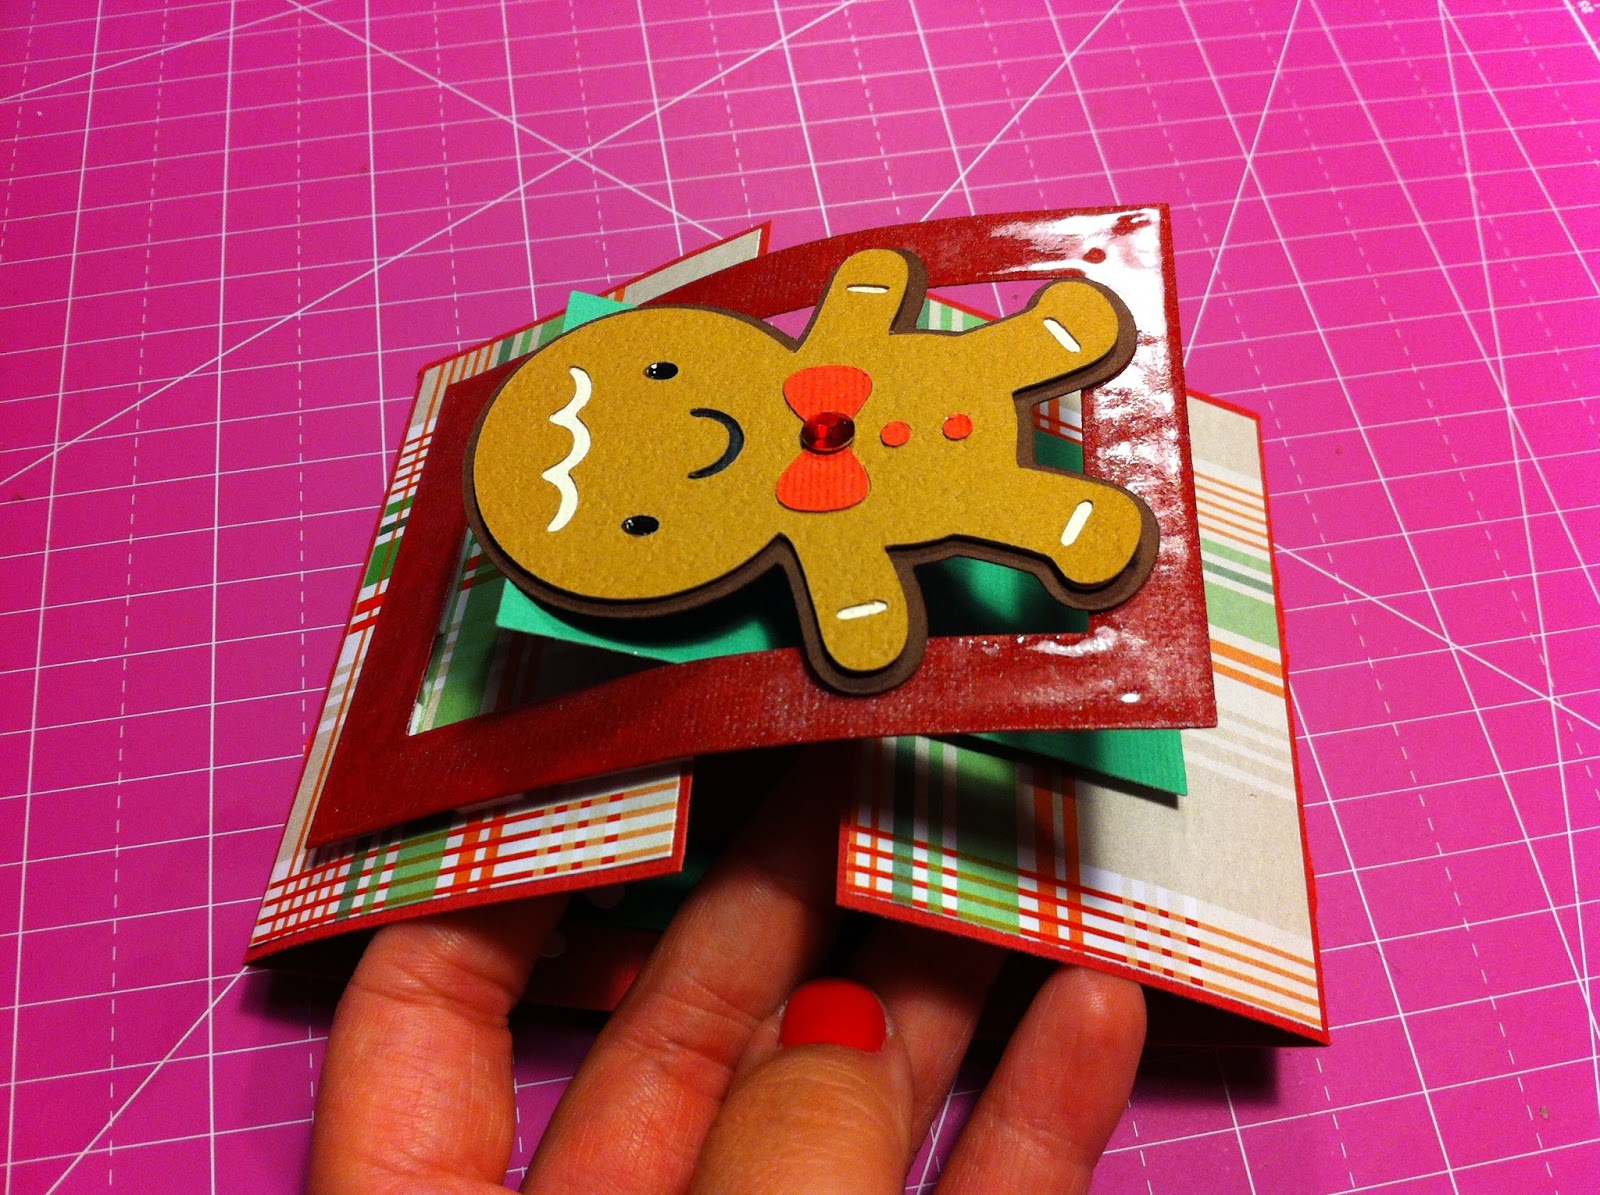
Gate Fold Card: Ginger Bread Man
Gate Fold Card Ginger Bread Man
Ginger Bread made using Cricut Create "Create a critter 2" Cartridge
Rectangular made using rectangular Stellbinders Nestabilities in the Cuttlebug.
For my Step by Step, Read More!!
Gate Fold Card: Thanksgiving Turkey
Gate Fold Card Thanksgiving Turkey
Turkey was made using Cricut Create "Create a critter 2" Cartridge
Frame was made using Spellbinders Nestabilities in the Cuttlebug.
For my Step by Step "Read more"!
Friday, September 06, 2013
Pencil Crayons & New Digi's!!
Throwback Wednesday. Had fun colouring in my new digi's from Saturated Canary while watching season2 of the show 24 (haha addicted!!) I'll post more pics of these super cute digi's soon!!
Yes I'm weird like that.. Love using pencil crayons versus Copic markers... Copics are way too $$ for me right now and I've yet to catch the hang of using them (maybe because I'm so limited in colours) but ya.. Sticking to pencil crayons for now :) unless I win the Copic lotto haha. Xox
Monday, September 02, 2013
Sassy Pregnant Ladies
Having fun playing around with my "Sassy Pregnant Ladies" with pencil crayons.
Bought these digi's from Sassy Studio Designs
I was playing around with the skin tones..
The one of the left is a bit more yellow-tan and the one on the right is more pink-ivory.
Dino Mite Birthday Card
Made using Cricut Create Machine
Create a Critter Cartridge (page48) in booklet.
Thank You Card - Tutorial
Card made using Cricut Create
Creative Cards Cartridge
Check out below for a easy to follow How-to Tutorial !!
Thank You Card
Card made using Cricut Create Machine
Creative Cards Cartridge
The "Merci" is from Create a Critter Cartridge (page 33) in booklet.
This card was really fun to make and with the Cricut Machine made it so easy!! :)
Subscribe to:
Posts (Atom)