Total Pageviews

Wednesday, February 26, 2014

Come join my Facebook Craft Page!!

Hello everyone!!!

If you have Facebook and you like my craft work then please feel free to "LIKE" my Craft Facebook Page. Go check it out and and let me know what you think!

Just click on this link and it will direct you right to it! ---> Pumpkin Spice Crafts Facebook Page
It should look just like the picture below :)


Nadine White

You're my best mate World Map


Materials used:

  • Pacific blue ink 126951
  • Pacific blue cardstock 111350
  • High Tide designer paper 132992
  • Envelope punch board (corners)
  • World Map Stamp 130345
  • Hello Sailor Stamp set 133278
  • Banner framelits 132173
  • Real Red ink 126949
  • Gold Twine 


Monday, February 24, 2014

"Happy" Card using Crisp Cantaloupe


Materials used:
  • Black Archival Ink from Michael's
  • Stampin' Up: Happy Watercolor Stamp Set 133191
  • Stampin' Up: Crisp Cantaloupe ink 131176 
  • Stampin' Up: Crisp Cantaloupe cardstock 131298
  • Stampin' Up: Whisper White cardstock
  • Stampin' Up: Real Red ink 126949 (inside the card)
  • Stampin' Up: Feel Good stamp set 129684 (sentiment inside the card)
  • Gelly Roll Gel pen (gold shimmer) from Michael's
  • Silver Sparkles from Home Sense.


I added gold shimmer over the stamp using a Gold Gel Pen

I added 2way glue over parts of the flower then added sparkles over it
In the center of the flower, I added a bit of gold shimmer using a Gold Gel Pen.

"Happy" Card using Rich Razzleberry


Materials used:
  • Black Archival Ink from Michael's
  • Stampin' Up: Happy Watercolor Stamp Set 133191
  • Stampin' Up: Rich Razzleberry ink 126950
  • Stampin' Up: Rich Razzleberry cardstock 115316
  • Stampin' Up: Whisper White cardstock 100730
  • Stampin' Up: Feel Good stamp set 129684 (sentiment inside the card)
  • Gelly Roll Gel pen (gold shimmer) from Michael's
  • Silver Sparkles from Home Sense.


I sprayed the inside of the card with shimmer!
I LOVE GLITTER!!!! 

You make me happy: Tutorial

I started off with stamping the background color purple
Then I stamped the sentiment.

I then stamped my main image. (twice)

I then glued the cardstock onto my main card.
I then added Stampin' Up 2way glue and added glitter on top.

 On the inside of the card, I added a sentiment and stamped the same 
main image I have on the front cover and used a light ink color.
In the center of the flowers I added gold glitter using a gel pen.
(You can see it better in person and when the card moves)

Thank You Card Pistachio Pudding


Sunday, February 23, 2014

Friday, February 21, 2014

The Start to my Mini Album

Mini Album 
I started this mini album by gluing my new Stampin' Up pattern paper
that I got from the Sale-A-Bration booklet page 11 (Sweet Sorbet - 133521). 

Any suggestions as to what I should turn this album into?!! 
I love the colors and design of this line of paper.. just not sure what to turn it into now!
Maybe I'll make it a album all about my two furry babies, we shall see :)


I bought at Michaels the base, it came as is in the picture below, 6 solid panels and 3 silver rings 

I then cut to size and glued my pattern paper. 
I then used my crocodile to punch out the holes.  

The following pictures are what my album looks like page by page as I open the album.


Monday, February 17, 2014

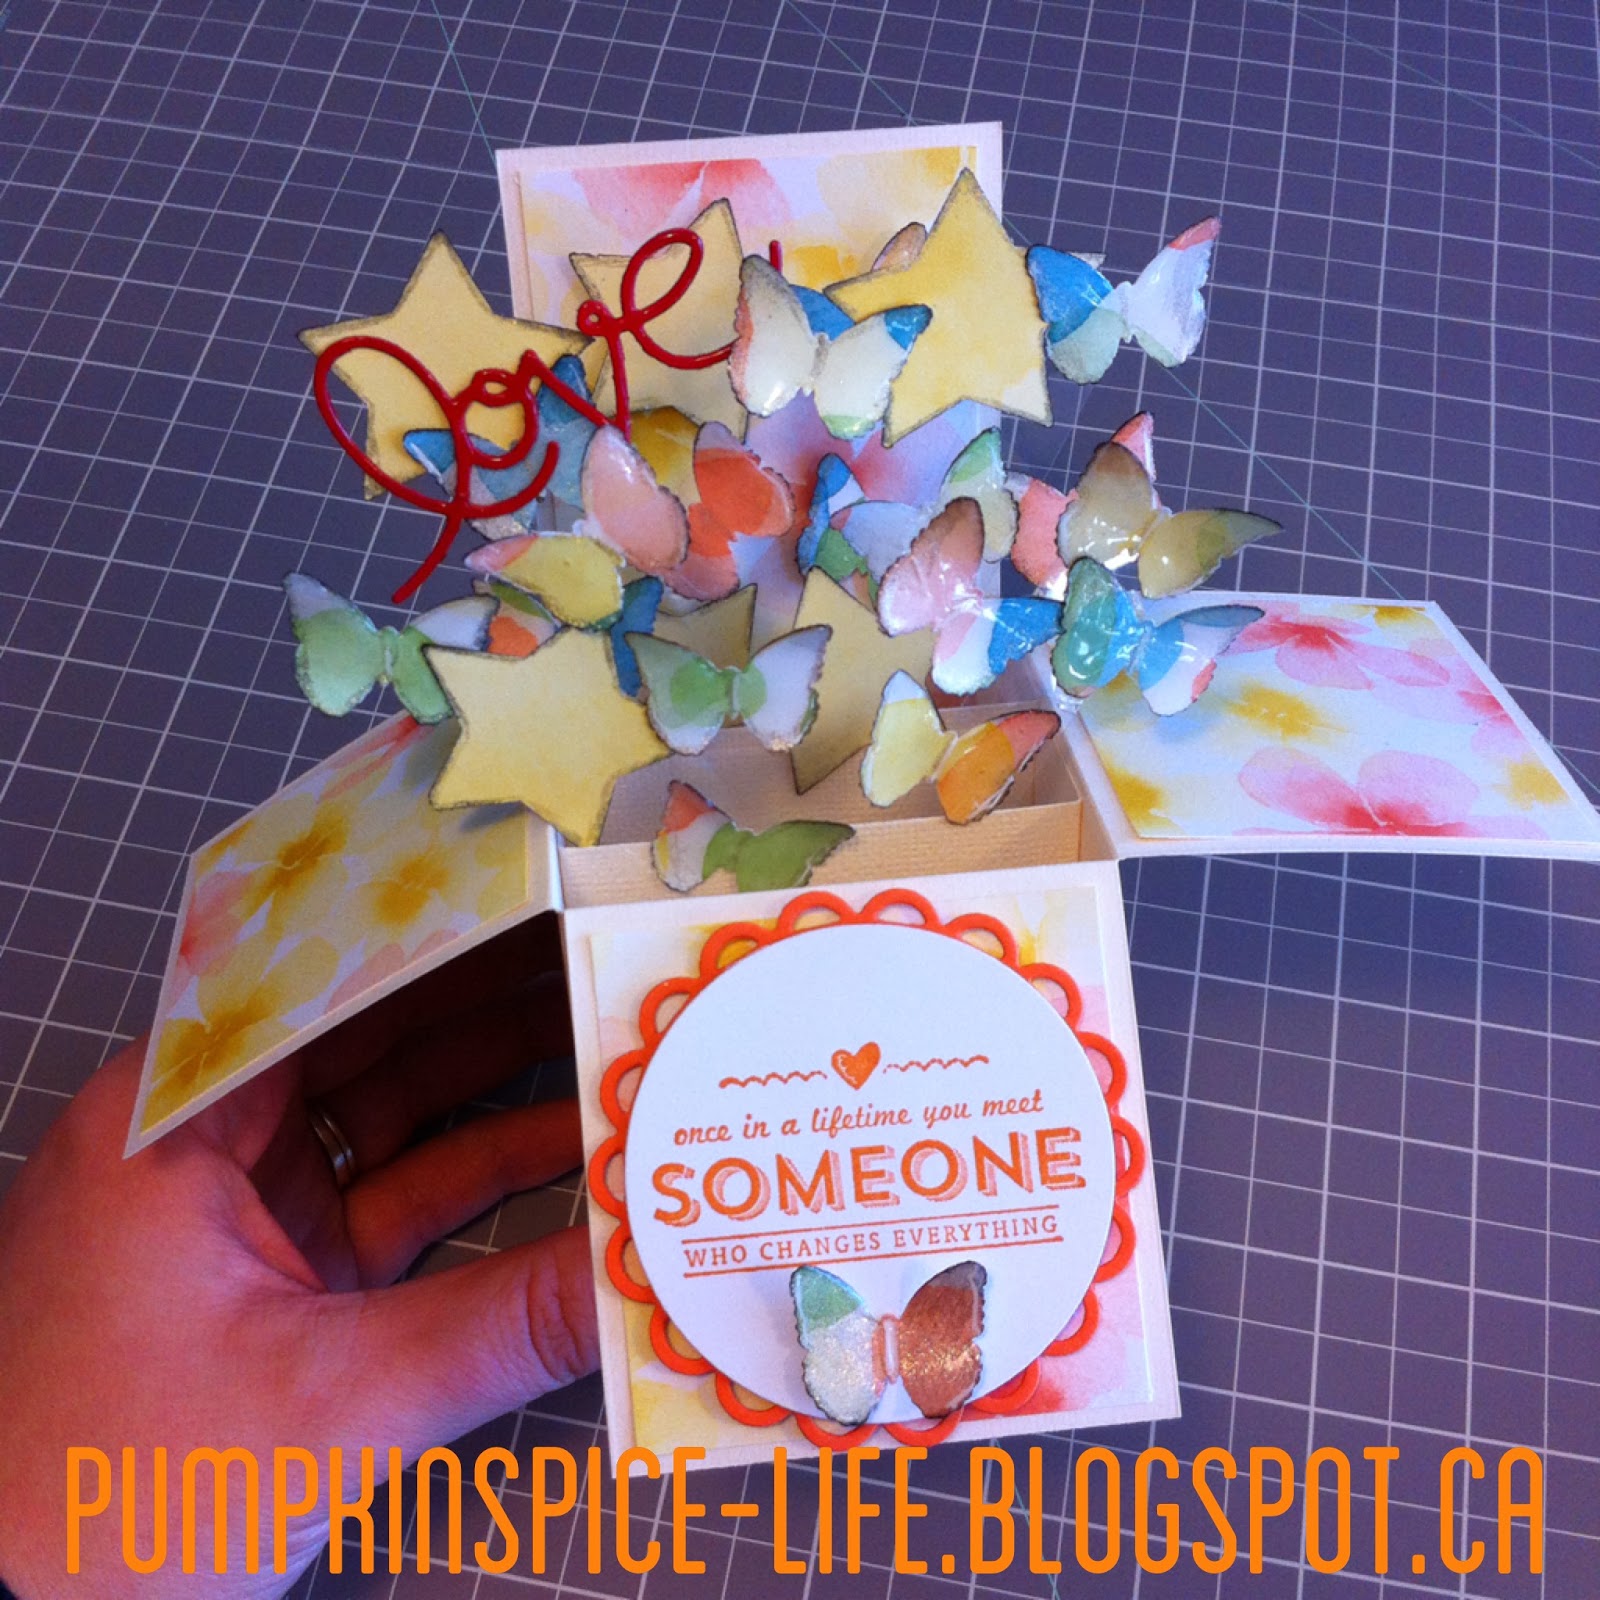
Card In A Box : Butterflies


My work station.. trying to figure out what I want the inside of the card to look like..
I distressed all the butterflies and stars edges using Tim Holtz distress Ink.

I then cut 4 pieces of clear window sheet and glued 2 on each panel on the inside.
I purposely glued them on an angle in order to make my butterflies look like their flying away.


I then glued them down one by one till I was happy with the look.
I then added some glitter to the edges of the wings on the butterflies using a gold gel pen. When you move the card side to side the glitter really shines, it was a little hard to capture that in this image with the lighting. 

I then added some Glossy Accents to the butterflies... this allowed the gold glitter to shine better and also gave them dimension and a nice gloss. As they dried, it curled the paper a bit and this effect turned out great since it made it look like the butterflies are flying away. In the picture below shows my little system of drying the glossy accents in layers HAHA... I probably should have added them before gluing them down to the card... but in the end it turned out good.